Original Website
Website
Setting up my own website has been on my to-do list for a long time. I’ve built a few sites for fun locally, but never saw one through to completion—until now! If you’re reading this, it means I finally stuck with it.
Getting Started: Hosting
Before working on the website itself, I wanted to sort out web hosting. I chose to do this first to avoid the hassle of exporting and importing files later if I changed my mind about a host.
Choosing a host was fairly straightforward thanks to the abundance of comparison and opinion articles online. However, the sheer number of options was a bit overwhelming. I eventually settled on BlueHost for their good pricing, speed, features, and excellent reviews.
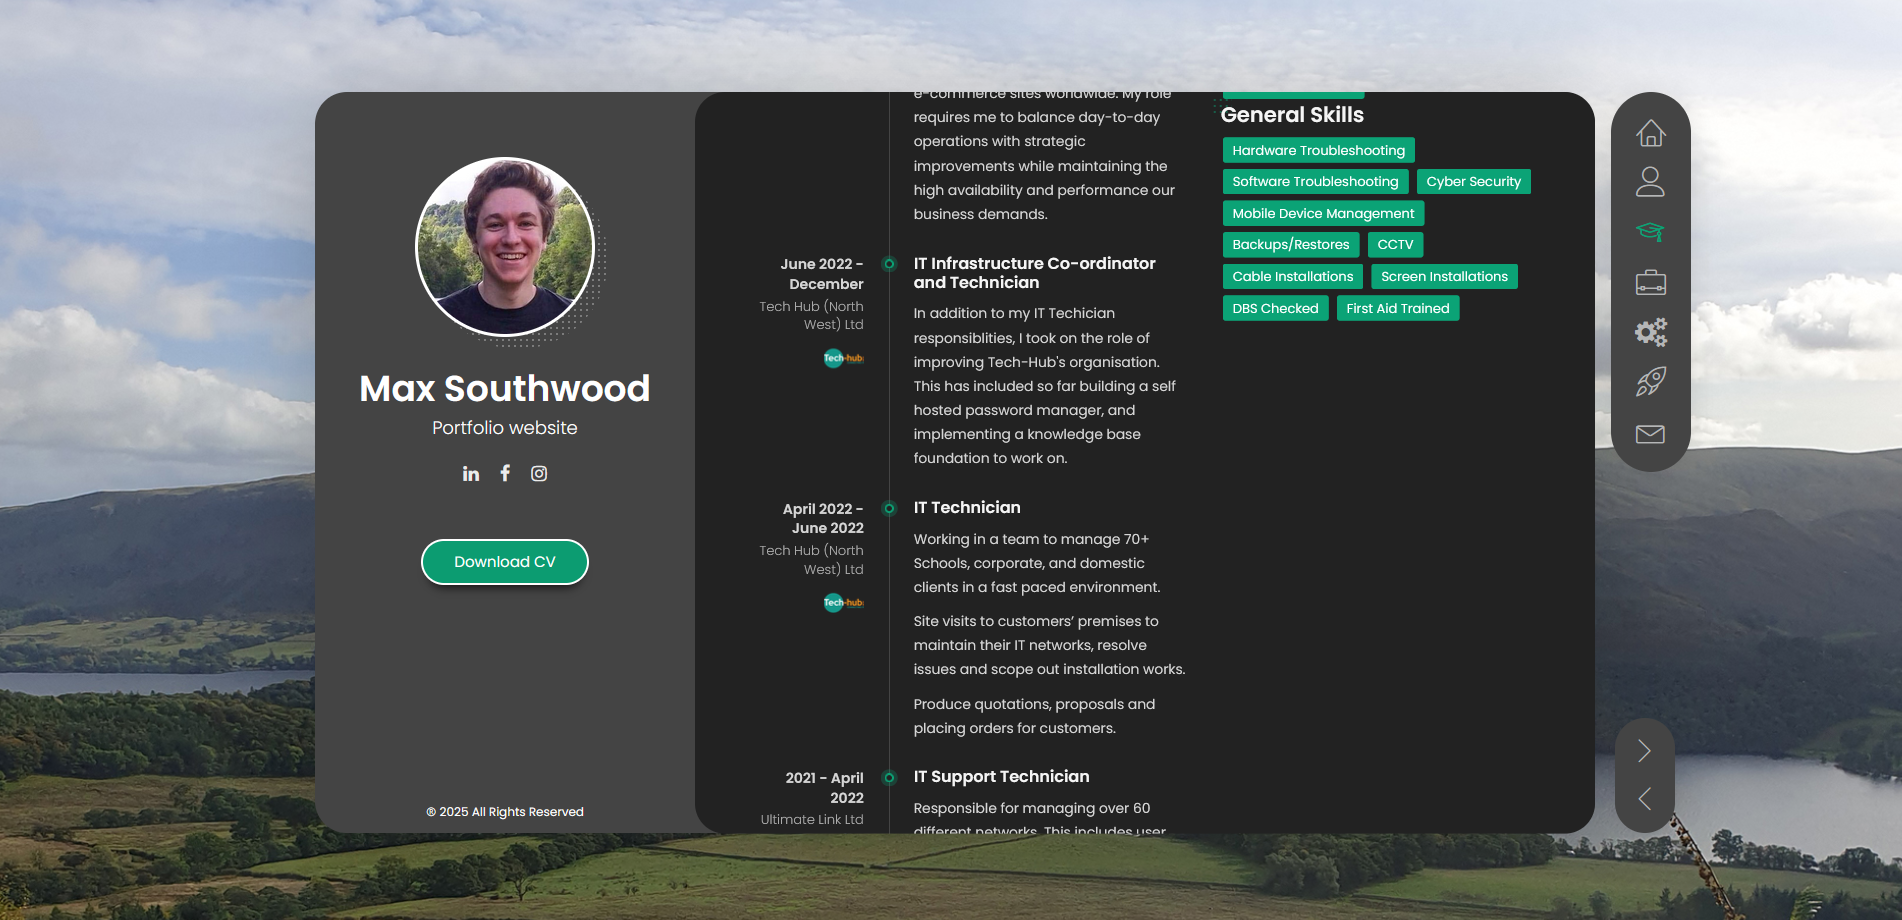
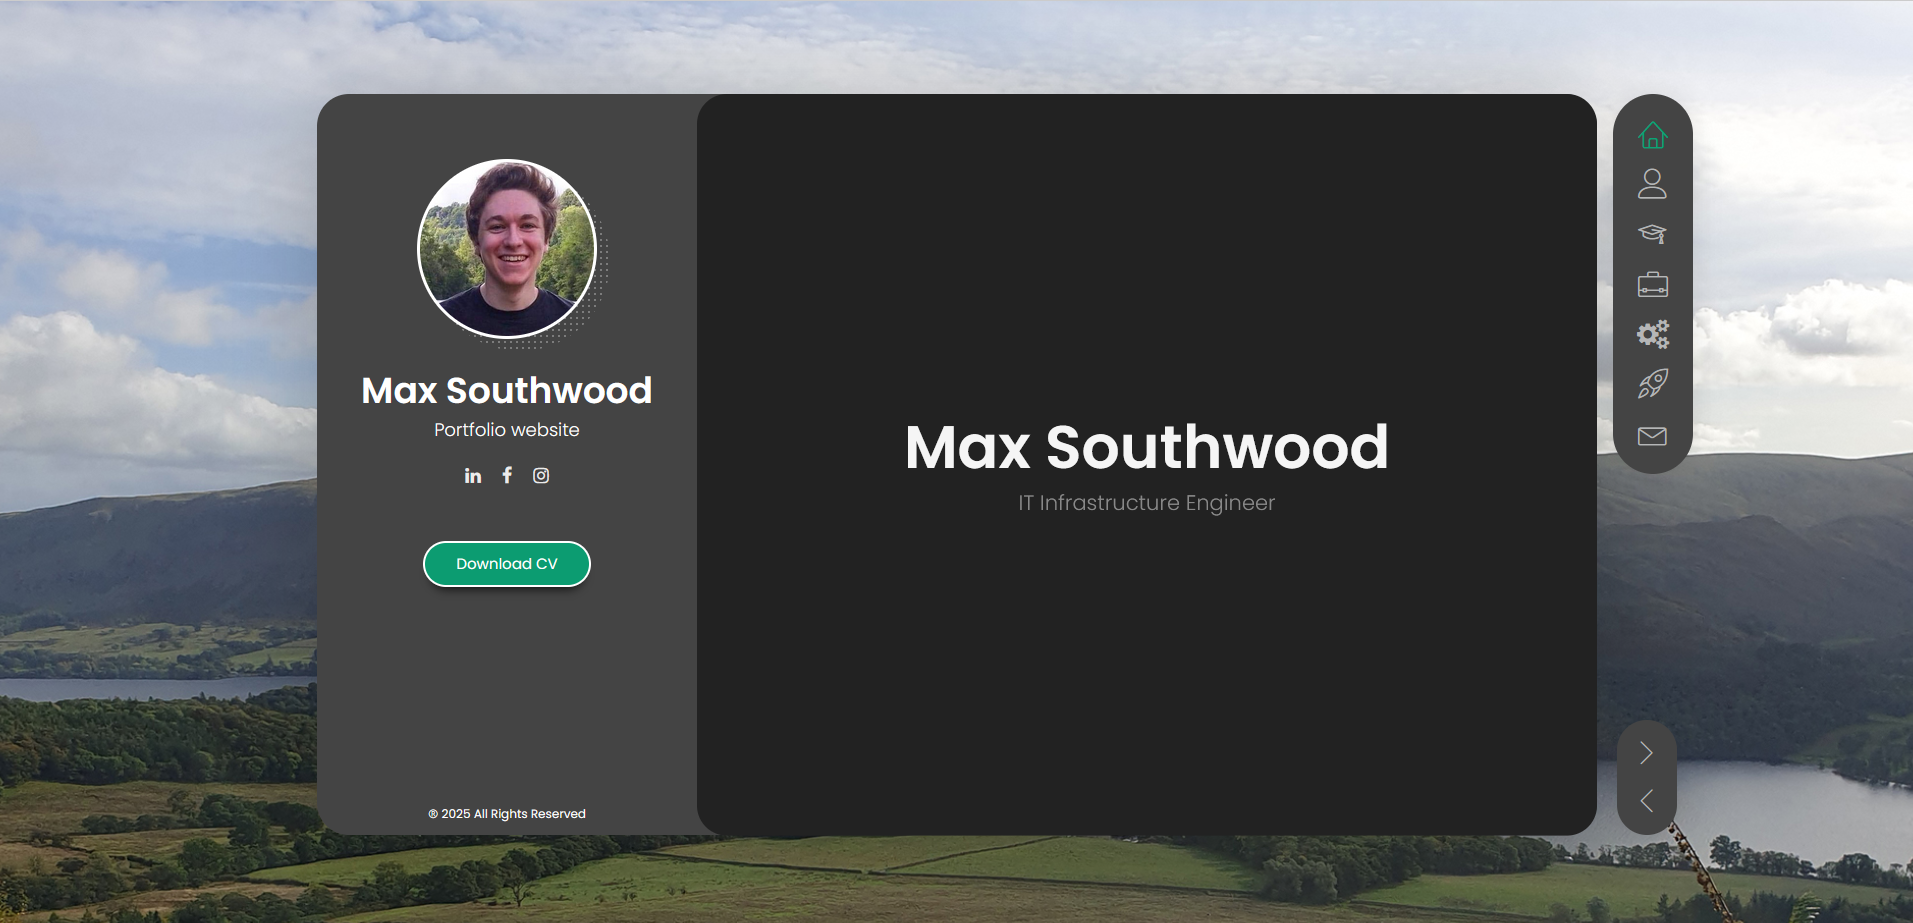
Building with WordPress
Here’s my confession: this is a WordPress (WP) site. I’d like to code my own site in the future, but for now I just wanted something hosted and working! Installing WP through the BlueHost portal was extremely easy—just basic info like the website name and purpose, and a few clicks later, WP was up and running.
Choosing a Domain
I wanted my website to have its own name: MaxSouthwood.co.uk. While BlueHost offers domain purchasing, I went with Names.co.uk because they had a great deal. Using a different domain provider just meant pointing the name servers to BlueHost, which was straightforward.
Now I had a website, hosted on my own domain!

Picking a Theme
The next step was finding a theme I liked. I didn’t expect this to take long, but choosing my favourite took ages! I went with BreezyCV for its unique look and focus on portfolios and projects. Since it’s WP-compatible, installing it was a breeze—just needed to add the required plugins.
Setting Up Email
Since the theme supported a contact form, I wanted to use it. Rather than my personal email, I took the opportunity to set up custom emails with the maxsouthwood.co.uk domain.